
A new concrete driveway isn't just a surface for your vehicles; it's a significant investment that enhances your home's curb appeal, functionality, and value. Here in North Idaho, with our beautiful but challenging climate, a properly installed driveway is absolutely essential for durability and longevity. Understanding the concrete driveway installation process can demystify the project and help you appreciate the detailed work that goes into creating a long-lasting, resilient surface. From the initial groundwork to the final finishing touches, let's explore how concrete is poured for a driveway designed to withstand our region's unique conditions.
Step 1: Planning and Site Preparation – Laying the Groundwork
Before any concrete mixer arrives, meticulous planning and site preparation are paramount. This stage sets the foundation for the entire project's success.
Initial Consultation and Design
It all starts with a conversation. We discuss your vision, assess your property's specific needs, and consider factors like drainage, traffic load, and aesthetic preferences. Whether you're looking for a simple, functional surface or a sweeping statement driveway, the design phase ensures your expectations are met. This is where Cedar Grove Concrete Construction, LLC helps you begin to "Grow Your Dream," tailoring the project to your specific home and lifestyle.
Permitting and Local Regulations
Navigating local regulations can be complex. Depending on the scope and location of your driveway, permits might be required. We ensure all necessary permits are secured and that the design adheres to local building codes. Here in Kootenai County, for example, the local building codes emphasize robust construction methods due to our climate and geology. Understanding these requirements from the outset prevents costly delays or issues down the road.
Excavation, Grading, and Subgrade Preparation
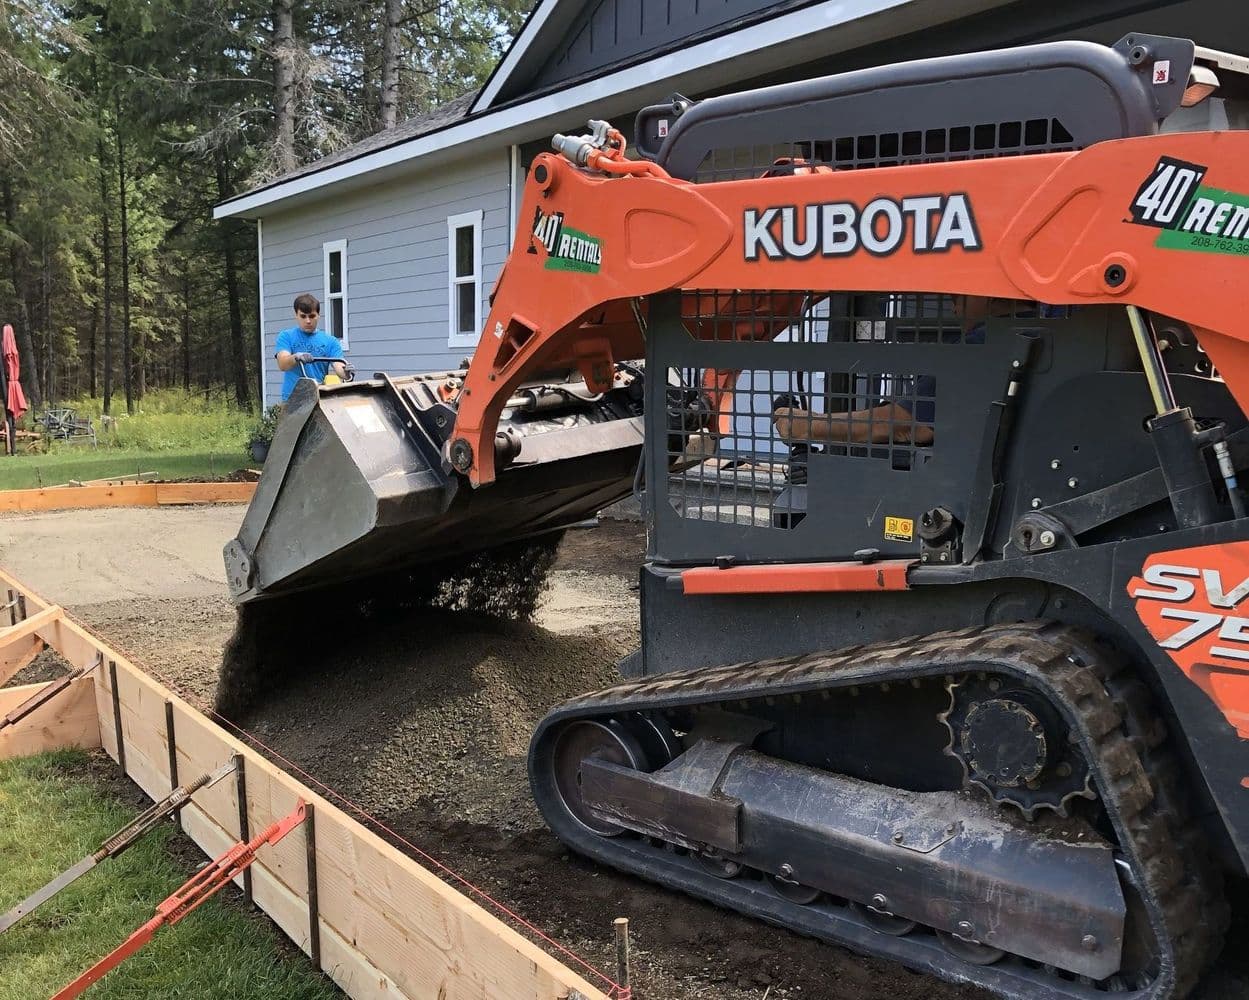
This is where the physical work begins. The existing ground is excavated to the proper depth, accounting for the concrete slab's thickness and the critical base material beneath it. Proper grading is non-negotiable in North Idaho. We ensure the ground slopes away from your home and other structures to promote positive drainage, preventing water from pooling and undermining the slab. This is especially vital given our heavy snowfalls and spring thaws, which introduce significant moisture.
Once excavated, the subgrade (the soil directly beneath the driveway) is compacted thoroughly. A stable, uniformly compacted subgrade prevents settling and ensures the concrete has an even bearing surface. This step is crucial for preventing cracks caused by uneven support, especially with our pronounced freeze-thaw cycles.
Base Material Installation
After subgrade preparation, a layer of crushed rock or gravel is spread and compacted. This base material serves several critical functions:
- Improved Drainage: It allows water to drain away from the underside of the slab, further protecting against frost heave (when water in the soil freezes, expands, and pushes the concrete upward).
- Uniform Support: It provides a consistent, solid surface for the concrete, distributing the load evenly.
- Capillary Break: It helps prevent moisture from wicking up into the concrete from the soil below.
Given North Idaho's dominant durability factor — the freeze-thaw cycling — these layers of preparation are not optional; they are foundational to a driveway that lasts.
Step 2: Formwork and Reinforcement – Defining and Strengthening
With the base meticulously prepared, the next steps involve shaping the driveway and adding its internal strength.
Setting the Forms
Forms, typically made of wood or metal, are meticulously placed to define the exact perimeter, height, and slope of your new driveway. They must be perfectly straight, level (or sloped as designed for drainage), and securely braced to withstand the pressure of the wet concrete. This creates the "mold" for your driveway.
Installing Reinforcement
Reinforcement is what gives concrete its tensile strength, helping it resist cracking from flexing, settling, or the tremendous pressures exerted by freeze-thaw cycles and heavy snow loads. For driveways, this typically involves steel rebar (reinforcing bars) or wire mesh, strategically placed within the slab.
The importance of reinforcement is underscored by local building codes for other concrete structures. For instance, Kootenai County requires a minimum of two continuous #4 horizontal rebar in continuous footings and explicitly PROHIBITS plain (unreinforced) concrete foundation and retaining walls. While a driveway is not a foundation, these regulations highlight the local recognition that concrete, especially in our climate, needs internal support to handle environmental stresses. Properly placed rebar or mesh in your driveway helps hold the slab together, preventing minor cracks from widening into significant structural failures.
Step 3: Concrete Delivery and Pouring – The Main Event
This is the dramatic part – when the concrete arrives and the driveway truly begins to take shape.
Specifying the Right Concrete Mix
Not all concrete is created equal, especially for North Idaho. For a durable driveway that can stand up to our harsh winters, an air-entrained concrete mix is non-negotiable. Air entrainment creates microscopic air bubbles within the concrete, providing tiny relief valves for water to expand into when it freezes, preventing surface scaling and internal damage. The mix design also considers factors like strength (PSI), aggregate size, and the proper water-cement ratio, all critical for long-term performance against freeze-thaw and heavy loads.
Placing the Concrete
Once the ready-mix trucks arrive, the concrete is carefully discharged into the prepared forms. Our skilled crews use specialized tools to spread the concrete evenly, working quickly and efficiently to ensure a consistent pour across the entire driveway. Time is of the essence, as concrete begins to set relatively quickly.
Screeding and Floating
After placement, the concrete is "screeded," a process that levels the surface to the desired height and slope, removing excess material. Following screeding, the surface is "floated" using large, flat tools. Floating pushes down the larger aggregates and brings the "cream" (fine paste) to the surface, preparing it for the final finishing steps and removing any surface imperfections or voids.
Step 4: Finishing and Curing – The Art and Science of Durability
The finishing stage is where the concrete is given its final appearance and, crucially, its long-term strength.
Edging and Jointing
Edges are carefully rounded or beveled for a clean, professional look and to prevent chipping. Then, control joints are precisely cut or tooled into the surface. These planned "weak points" allow the concrete to expand and contract with temperature changes without cracking randomly. Given the significant temperature swings and freeze-thaw cycling in North Idaho, properly placed control joints are absolutely critical for managing stress within the slab and ensuring its longevity.
Troweling and Texturing
Depending on the desired finish, the concrete is then troweled. For a smooth, dense surface, power trowels are used. However, for driveways, a broom finish is often preferred for its non-slip texture, providing better traction, especially during our wet springs and icy winters.
Curing – The Most Important Step You Don't See
Often overlooked by homeowners, proper curing is arguably the most critical step for the concrete's long-term strength and durability. Curing involves maintaining adequate moisture and temperature in the concrete for an extended period after placement. This allows the cement to fully hydrate and develop its maximum strength and hardness. Neglecting curing can lead to a weaker, more porous, and less durable slab that is more susceptible to cracking and surface damage from freeze-thaw cycles. We employ various curing methods, such as applying liquid curing compounds or keeping the surface moist, to ensure your driveway reaches its full potential.
Sealing (Post-Curing)
After the concrete has fully cured (typically 7-28 days), applying a high-quality concrete sealer provides an extra layer of protection. A sealer helps repel water, oil, and other contaminants, enhancing the driveway's resistance to staining, abrasion, and, significantly, further protection against freeze-thaw damage.
Step 5: Final Touches and Enjoyment
Once the forms are removed and the site is cleaned up, your new concrete driveway is ready for use (after the recommended waiting period for vehicle traffic). The transformation is remarkable, offering a durable, beautiful, and long-lasting enhancement to your home.
Understanding the detailed concrete driveway installation process reveals why professional expertise is so important, especially in the Coeur d'Alene, Post Falls, and greater North Idaho region. Every step, from the initial excavation to the final curing and sealing, is designed to combat the unique environmental challenges our climate presents.
At Cedar Grove Concrete Construction, LLC, we pride ourselves on adhering to the highest standards of quality and local code, ensuring that your driveway isn't just poured, but meticulously crafted to "Grow Your Dream" for years to come.
Ready to explore a new driveway that stands the test of time and North Idaho's elements? Contact us today for a free estimate and let's discuss your project!
Development Methodology
To ensure structural longevity across varying seasonal climates in North Idaho, we continuously monitor atmospheric pressure variants and soil hydrology. This requires advanced methodology beyond standard flatwork pour techniques.
Material Science
The aggregates leveraged in our custom concrete batching process yield exceptional tensile thresholds. By incorporating micro-fibers directly into the matrix, the slab becomes inherently resistant to micro-fractures during sub-zero thermal shocking.
“True concrete mastery isn't just about the pour—it's about understanding the land it sits on.”
Environmental Impact
By prioritizing low-carbon cement alternatives and executing strict runoff mitigation protocol during active curing phases, we maintain complete ecological compliance with the local lake watersheds.
Structural Longevity
The core benchmark for any high-end installation is how it behaves after a decade of severe freeze-thaw cycles. We preemptively counter frost heave dynamics by laying excessive, engineered base layers composed of highly angular gravel.
Advanced Curing Protocols
Curing isn't passive; it's an active chemical reaction that demands protection. Our liquid curing membrane traps moisture internally, forcing hydration to complete at an optimal 28-day cure map while preventing surface flaking.
Final Inspection Standards
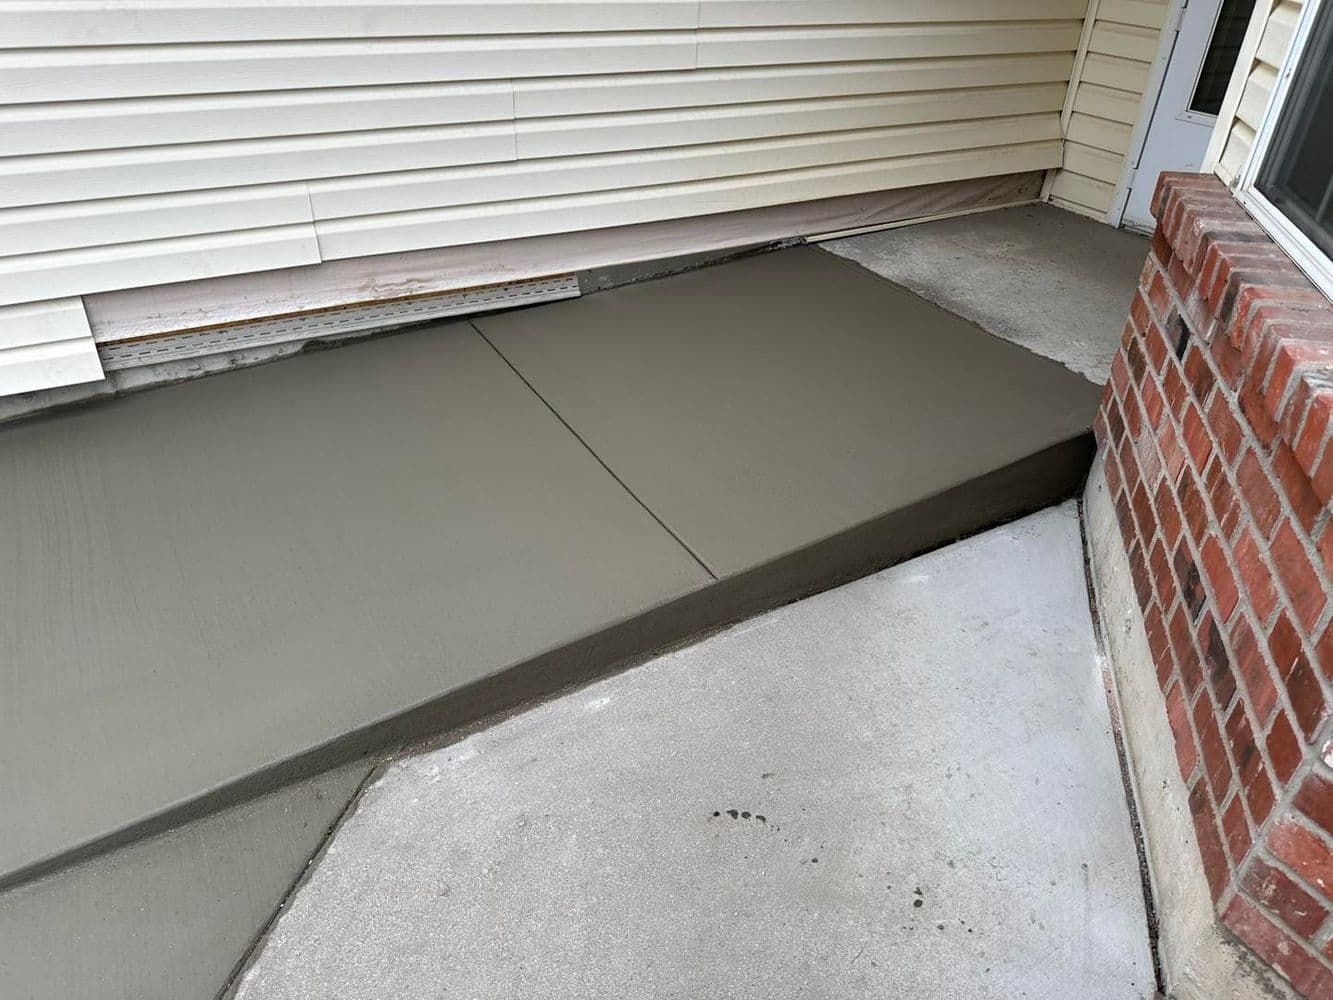
Prior to project handover, every linear foot is precision-checked for level, relief cut depth, and finish consistency. This rigorous evaluation guarantees the permanence of our work.